Whether you’re having a snowy, cloudy, or sunny January, we at B. believe that making time for creativity is the way to go, no matter the weather! Rain or shine, we invite you to celebrate the wintery season with 3 fun crafts – all made with kids in mind.
So without further ado, here are 3 family-friendly activities that are sure to sprinkle some fun into a regular school night or a quiet weekend.
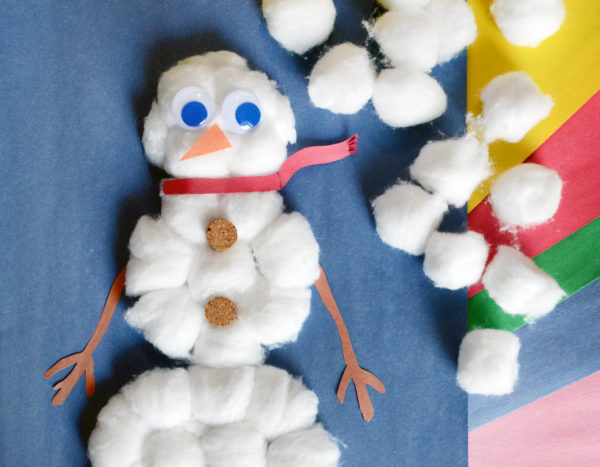
Fluffy Snowman
What you’ll need:
- Colored paper of your choice (for a classic look, we recommend having orange and brown paper on hand!)
- Pencil
- Cotton balls (lots of ‘em!)
- Glue
- Googly eyes
- Safe scissors (optional)
1. Place a sheet of colored paper vertically and draw 3 circles on it, all connected to one another – a small one at the top (the snowman’s head), a bigger one in the middle, and the biggest one at the bottom (the snowman’s body).
2. Glue cotton balls inside the circles until each one is completely filled in (you shouldn’t see the paper coming through!).
3. Decorate the snowman with googly eyes, an orange paper “carrot” for the nose, and brown paper “sticks” for arms. You can even add a hat or a scarf!
4. If you don’t want to keep the background paper, use the scissors to cut out the snowman.
Paper Snowflakes
What you’ll need:
- Sheets of square paper (white, silver, or light blue)
- Safe scissors
- Double-sided tape (optional)
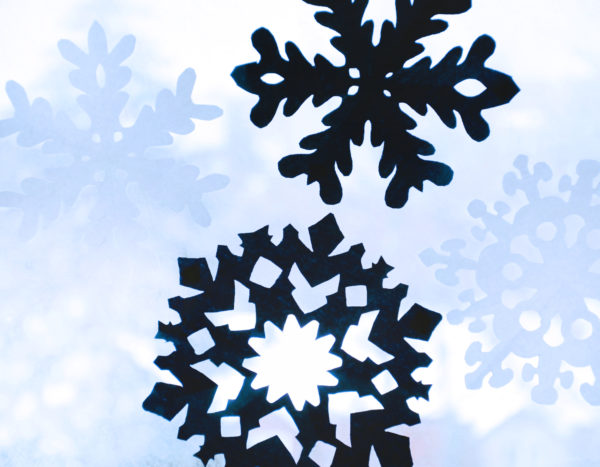
1. Take a piece of paper and fold it in half (diagonally) to make a triangle.
2. Keep folding the paper diagonally into smaller triangles (3 more folds).
3. Make little cut-outs in the folded piece of paper. There’s no one way to go about it – let your imagination run wild!
4. Unfold the piece of paper to reveal the snowflake!
5. If you want to add a wintery touch to your décor, use double-sided tape to stick the snowflakes on your window.
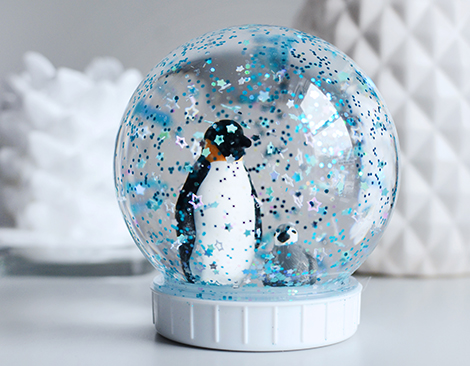
Sparkly Snow Globe
What you’ll need:
- Jar with a lid
- Small figurine (to go inside of the jar)
- Glitter
- Baby oil (or water with glycerin)
- Hot glue (B. careful!)
1. Glue the figurine on the inside of the jar’s lid and put it aside.
2. Take the jar and pour some glitter into it.
3. Fill the jar with baby oil (or water with a few drops of glycerin). The closer you get to the top of the jar, the better!
4. Make sure the figurine is strongly glued to the lid, then take the lid and close the jar.
5. Flip the jar and watch the glitter slowly make its way down!
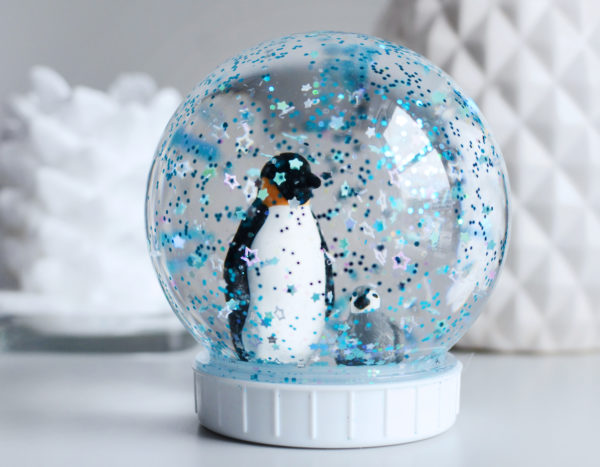
We hope you have tons of wintery fun! Just don’t forget to share your crafty creations by tagging us @mybtoys.
You may also like
26
Mar
Fall Fun: Educational Activities for Kids
From corn mazes and pumpkin patches to hot cups of tea and stunning scenery, fall is surely a time for both outdoor and indoor fun. Whi...
26
Mar
Virtual Playdates for Toddlers: 5 Fun Activities
Making friends is a lifelong adventure – and starting young is key! Playdates are a great way for toddlers to spend time with their bud...
26
Mar
How to Make a Family Time Capsule
Spending a fair bit of time at home in the past year meant many parents adapted to a new reality – and had the chance to experience a w...
26
Mar
6 Spring Break Activities for Families
Ah, spring break. The time when winter starts to say goodbye and we start saying hello to warmer temperatures and sunny skies. A time t...
26
Mar
Food Art for Kids: Spring Celebration
The sun is shining, the flowers are blooming, and the birds are singing. Springtime is here! And what better way to celebrate it than.....
26
Mar
Activities & Animals All Around!
Whether it’s a fluffy cat purring next to you on the couch, a cow you see on the farm, a fox that dashes past you on a camping trip, or...
26
Mar
Rainy Days: Free Printables & Activities for Kids
Summer is filled with sunny days, but there are times when all we hear are itty-bitty raindrops. For us, rainy days are simply excuses ...
26
Mar
3 Great Family Activities for the Fall Season
The days may be getting shorter, but that doesn’t mean there isn’t plenty of time for family fun in the fall! The season of sweaters an...
