Spending a fair bit of time at home in the past year meant many parents adapted to a new reality – and had the chance to experience a whole lot of quality time with their kids! We know that 2020 had its downs, but we want to celebrate the ups… with crafts! And what better way to remember the fun stuff from the past than a B.eautiful time capsule filled with tiny trinkets that’s made by the entire family?
Here’s our 5-step guide to making a family time capsule:
1. Choose the Container
The first step is finding what you’ll use to house the itty-bitty pieces from the past year. The two main things to look out for is size and material. You’ll want a container that holds mini memories from each family member and something that will withstand all sorts of weather conditions. Ideally, this would be a weatherproof, non-biodegradable container made of metal, preferably stainless steel. Of course, this doesn’t apply if you’re planning on storing it indoors! In that case, you can use a glass jar, shoe box, etc.
2. Select the Objects
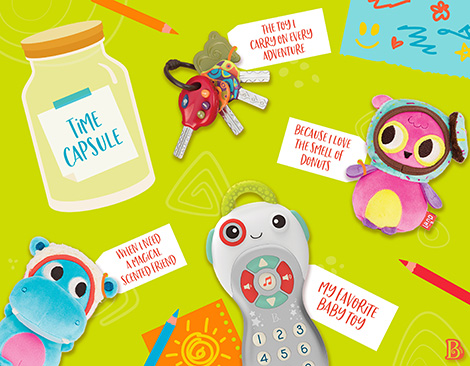
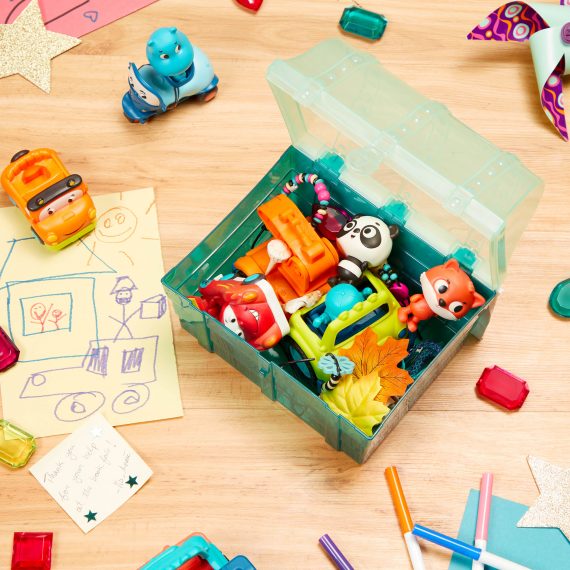
Deciding what to place in your family time capsule is the most important step! This can be a range of things – a birthday card you received last year, a holiday decoration, a photograph, a little toy, a piece of jewelry, a mini project made by your little one, and so much more. We suggest picking one object per family member and adding a small note to each one that’ll jog your memories when you all open the time capsule later on. Just make sure to pick small items, so that they all fit in your chosen container!
3. Add Timely Items
In addition to personal and sentimental objects, we also suggest placing timely knick-knacks that are relevant to 2020. These can relate to anything from the price of cereal to the most popular movie of the year to the score of a big sports game. To capture the growth of your kids, you can also put in a paper with their current favorites (colors, animals, snacks) and future dreams (“I want to be an astronaut!”). Looking at this information in a few years is sure to be interesting!
4. Set a Time Period
Speaking of years, the next step is deciding for how long you want to keep this time capsule hidden. The longer you keep it closed, the stronger the effect will be when you open it – but setting the time period is completely up to you! You can choose to dig it up in a year, go for a 5-year period, or play the long game and refrain from opening it for 10, 15, or even 20 years. It all comes down to your family’s patience!
5. Find a Safe Spot
The last part of making a time capsule is figuring out where to hide it! If you or another family member or friend has a house, a backyard, attic, or basement would be safe choices. If you’re sticking with an outdoor option, a public space such as a park works too – you just have to make sure that it’s an area safe from construction and that it won’t be found by strangers.
The key to the entire project is not forgetting about your time capsule or where you stored it! Note the opening date down in a secure spot and create yearly digital reminders to make sure you all relive your family’s memories at the right time.
